Easy way for Reseating RAM Module in Desktop Computer using our professional guide for Desktop Memory Module installation.
If you’re searching on how to do reseating RAM module in a computer, then don’t worry now!!! There are several ways and ‘easy’ methods that will allow you to easily install memory module in your desktop. This article has compiled an exciting guide to help you to reseat RAM module in your computer.
The following steps will show you how to do reseating RAM in any kind of desktop. There are many different types of memory that a PC can use but the reseat process is the same for all of them.
Table of Contents
1. Power Off the PC and Open the Computer Case
Memory modules plug directly into the motherboard, so they are always present inside the computer case. Before you can reseat the memory, you must power down the computer and open the case so that you can access the RAM modules.
Most computers come in either tower size models or desktop size models. Tower cases usually have screws that secure the removable panels on either side of the case but sometimes feature the release button instead of the screws. Desktop cases usually have simple release buttons that allow you to open the case, but some will have screws like tower cases.
Now it’s time to open your computer’s case. For screwless cases, look for buttons or levers on the sides or rear of the computer which are used to release the case. If you are still having problems, refer your computer or case manual to determine how to open the case.
2. Remove Power Cables and Attachments
Before you can remove the memory from your computer, you should unplug any power cable, just to be safe. You should also remove cables and other external attachments that may get in your way.
This is usually a good step to complete before opening the case but if you haven’t done so yet, now is the time.
3. Locate Memory Modules

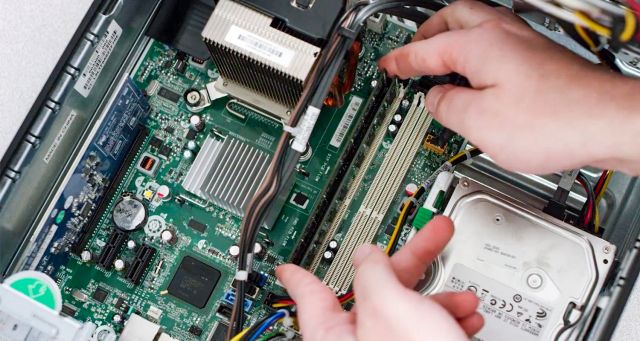
Look inside your computer for installed RAM. Memory will always be installed in the slots on the motherboard.
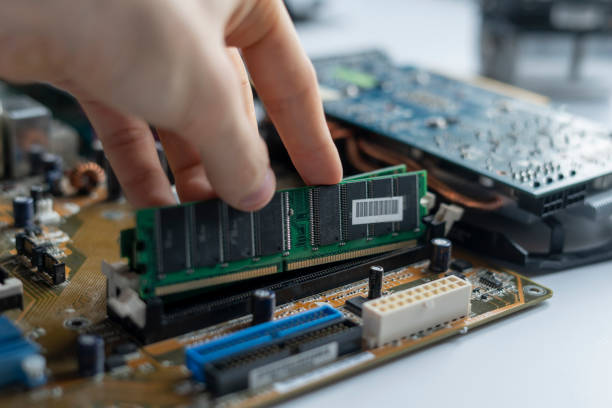
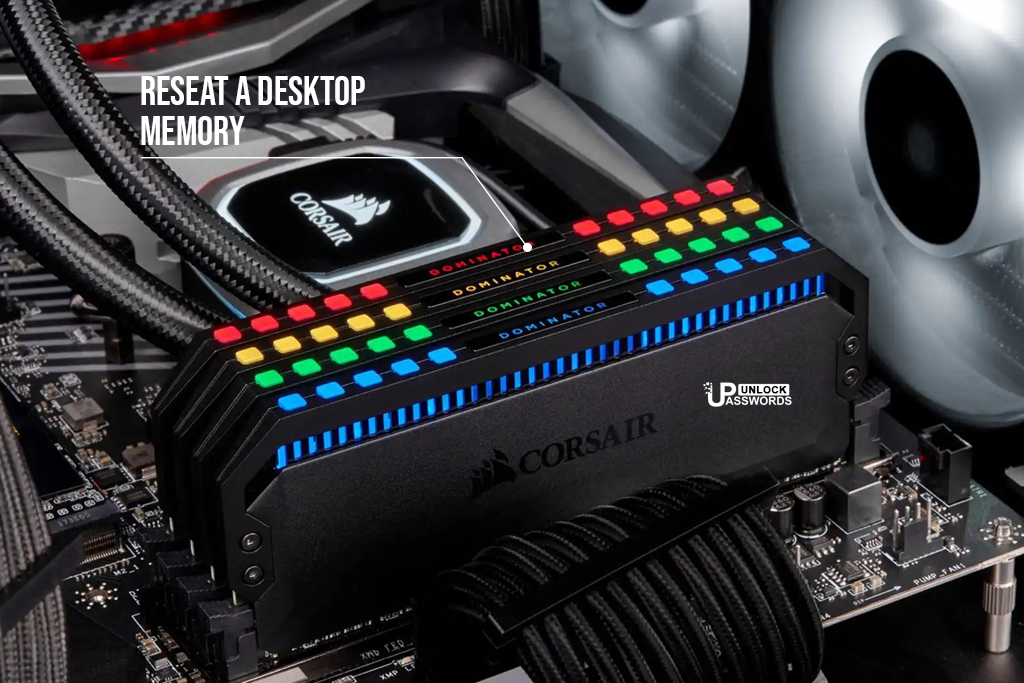
Most of the memory on the market looks like the module pictured here. Some newer, faster memory generates more heat so the memory chips are covered with a metal heat sink.
Motherboard slots with RAM are usually black, but we’ve also seen yellow and blue memory slots.
Regardless, the setup basically looks like the picture above in almost every PC in the world.
4. Disengage Memory Retaining Clips
On both sides of the memory module, as shown above, push down both memory retaining clips at the same time.
Memory retaining clips are usually white and the RAM should be in a vertical position with the motherboard slot in place. You can take a closer look at these retaining clips in the next step.
Note: If for some reason you can’t push both clips down at the same time, don’t worry. You can press one at a time if you need to. However, pushing the retaining clips simultaneously increases the chance that both clips will be properly disconnected.
5. Verify Memory Has Properly Disengaged
As you disconnected the memory retaining clips in the final step, the memory should have been out of the motherboard slot.
The clip should no longer touch RAM and the memory module should be outside the motherboard slot, exposing gold or silver contacts, as you can see above.
Important: Check both sides of the memory module and make sure both retaining clips are disconnected. If you try to remove the memory with a retaining clip that is still engaged, you may damage the motherboard and / or RAM.
Note: If the memory module is completely out of the motherboard slot, you can hardly push the retaining clips. As long as the memory doesn’t get stuck in something, that’s probably fine. Just try to be a little softer next time.
6. Remove Memory module from the Motherboard

Carefully remove the memory module from the motherboard and keep it in a safe and stable place. Be careful not to touch the metal contacts under the RAM module.
As you remove the memory, note one or more small marks below. These markings are disproportionately placed on the module (and on your motherboard) to ensure that you are installing the memory correctly (we will do this in the next step).
Important: If the memory doesn’t come out easily, you may not have properly disconnected the clips that hold one or both of the memory. If you think this is possible, go back to step 4.
7. Reinstall or Reseating RAM in the Motherboard

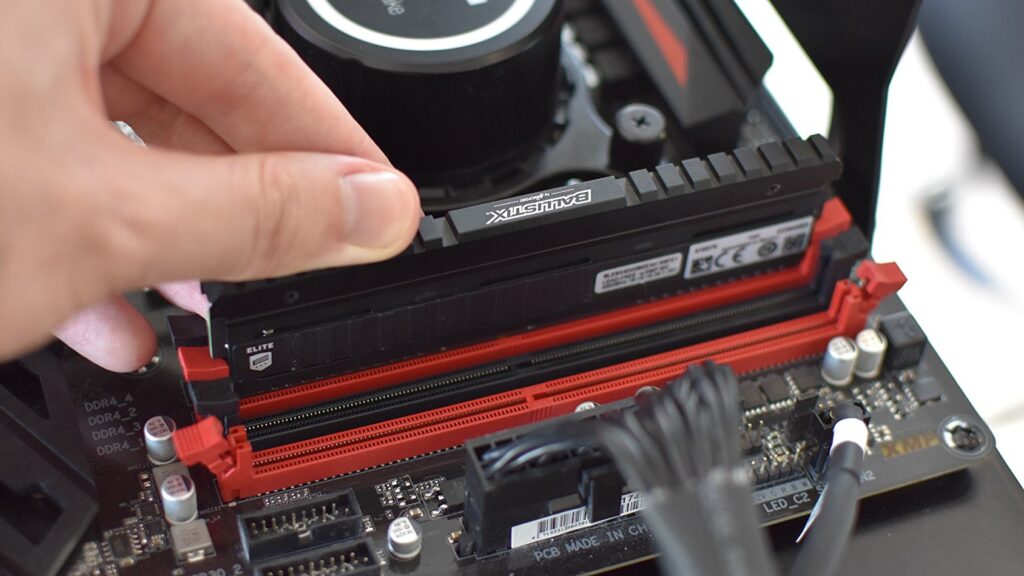
Carefully pick up the RAM module, avoid the metal contacts at the bottom again, and slide it into the same motherboard slot from which you removed it in the previous step.
Press firmly on the memory module, applying equal pressure on both sides of the RAM. Memory retaining clips will automatically return to their place. You should hear a specific ‘click’ as the retaining clips come into place and the RAM is properly reseated.
Important: As we noted in the last step, the RAM module will install only one way, which will be controlled by these small markings at the bottom of the module. If the markings on RAM are not in line with the markings in the memory slot on the motherboard, you may have entered it incorrectly. Turn the memory over and try again.
8. Verify Memory Retaining Clips are Re-engaged
Take a closer look at the memory retaining clips on either side of the memory module and make sure they are fully engaged to ensure reseating RAM is done correctly.
Retaining clips should look exactly like you did before removing the RAM. They should both be in a vertical position and the small plastic protrusions should be fully inserted into the markings on either side of the RAM, as shown above.
If the retaining clips are not fitted properly and / or the RAM does not fit properly into the motherboard slot, you may have installed the RAM module incorrectly or there may be some physical damage to the memory module or motherboard.
9. Close the Computer Case
Now that you’ve reseated the memory, you’ll need to close your case and back up your computer.
As you read in step 1, most computers come in either tower-sized models or desktop-sized models, which means that there may be different mechanisms for opening and closing the case.
Important: If you are reseating RAM module as part of the trouble shooting step, you should check to see if the memory reseat has corrected the problem. If not, continue with whatever troubleshooting you were doing.
Conclusion:
Hope this article has helped you in reseating RAM module in your computer using our simple methods. If you have any suggestions or questions, please write in the comment box below.
For more hardware related solutions, do check out our other articles here.
Above methods can also be used to resolve following problems:
Easily Reseating RAM modules
How to reseat RAM module in computer?
How reseat computer Memory module?
How to remove RAM from CPU?
How to reinstall RAM module?


